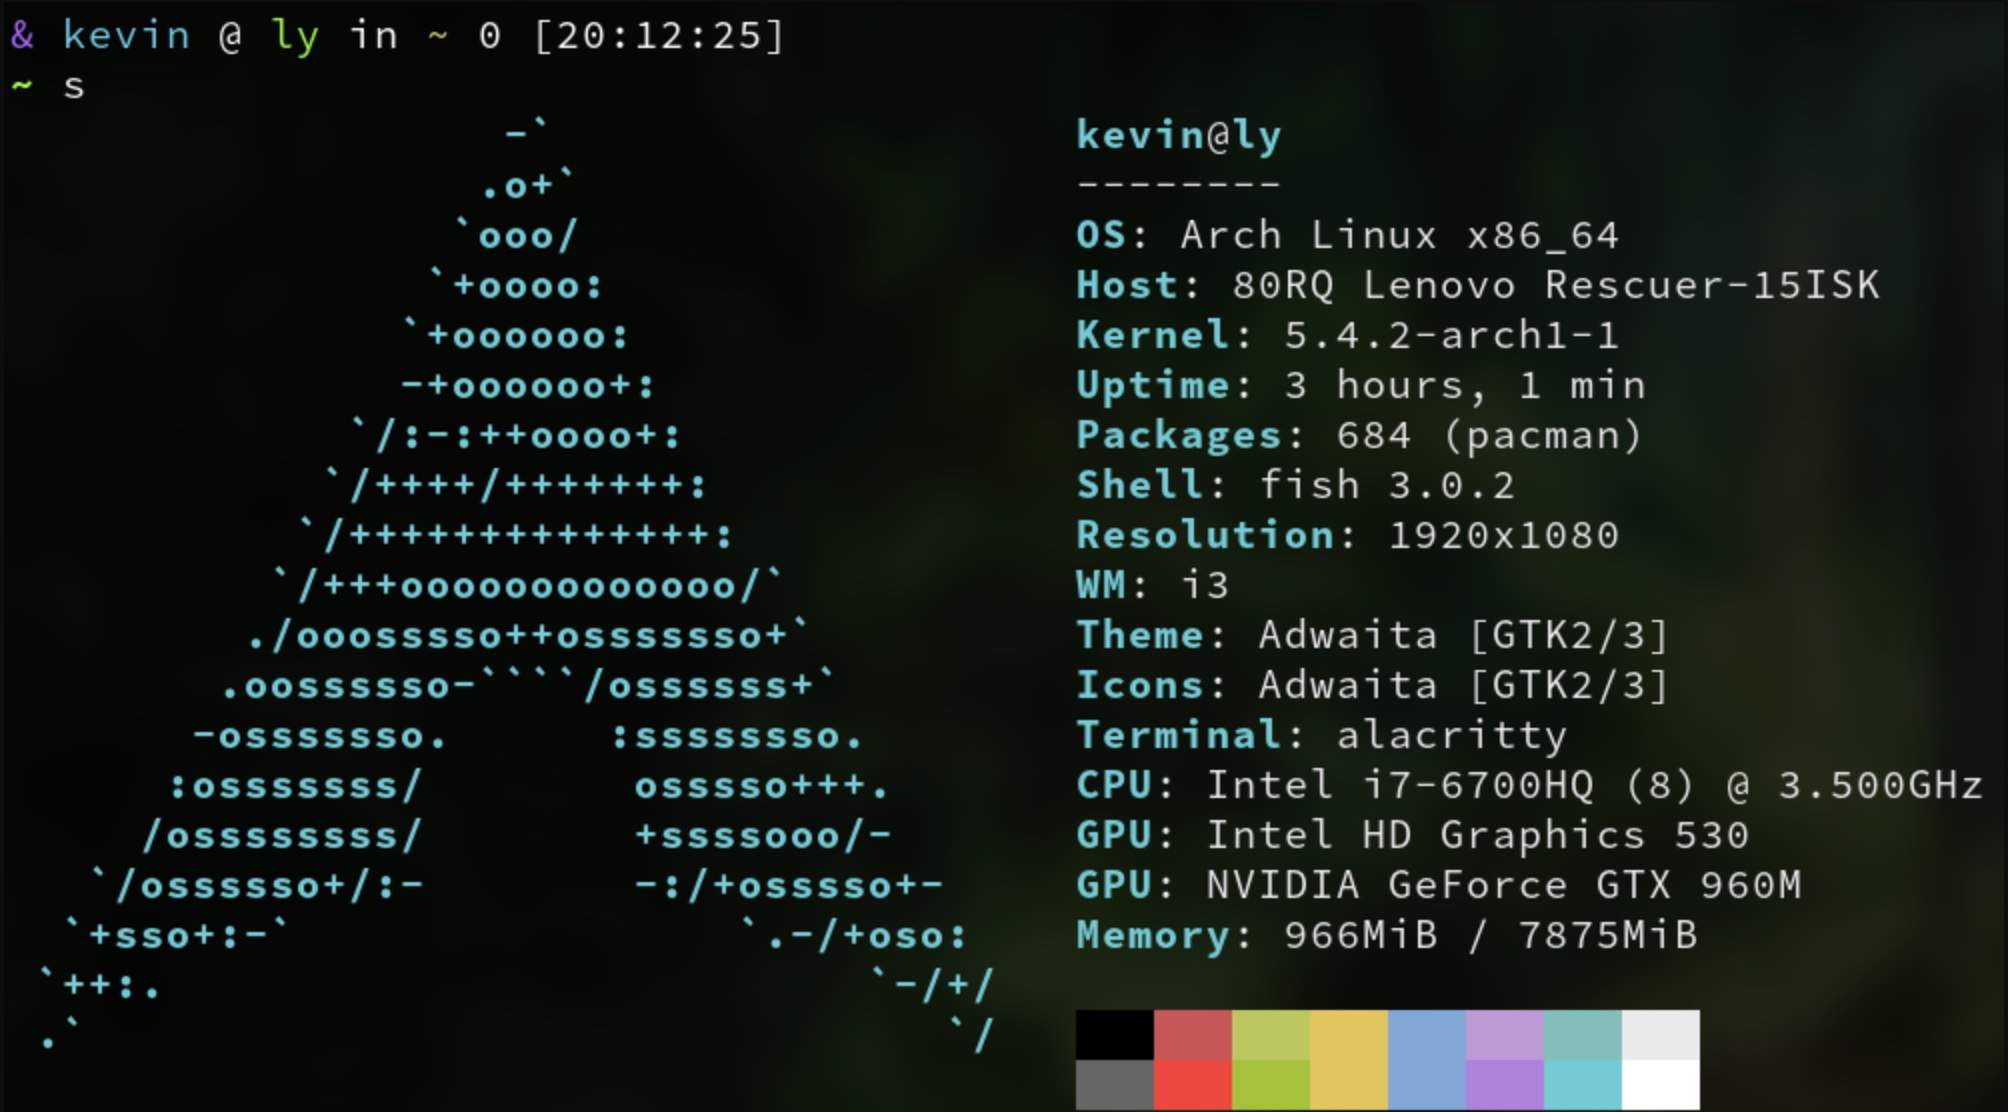
Arch linux + i3

Installation guide
1. Boot the live environment
The live environment can be booted from a USB flash device, an optical disc or a network with PXE.
2. Connect the Internet
wifi-menuUse ping www.archlinux.org to verify the connection.
3. Update the system clock
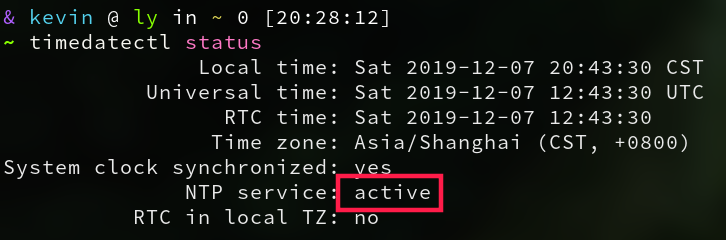
Use tiledatectl to ensure the system colck is accurate
timedatectl set-ntp trueTo check the service status, use timedatectl status
4. Partition the disks
When recognized by the live system, disks are assigned to a block device such as /dev/sda or /dev/nvme0n1 . To identify these devices, use lsblk or fdisk .
fdisk -lUse fdisk or parted to modify partition tables.
for example:
# parted /dev/sda
(parted) mklabel
New disk label type? gpt
(parted) exit
Use cfdisk to create partition.
It should include EFI , / (root), /home , /swap .

5. Format the partitions
Note the correct partitions
- EFI partition
mkfs.vfat /dev/sda2- root and home partition
mkfs.ext4 /dev/sda3
mkfs.ext4 /dev/sda4- swap partition
mkswap -f /dev/sda5
swapon /dev/swap
6. Mount the file systems
Pay attention to the order of mounting partitions!
- mount the file system on the root partition to
/mnt
mount /dev/sda3 /mnt- create home folder in
/mntfolder and mount the file system on the home partition to/mnt/home
mkdir /mnt/home
mount /dev/sda4 /mnt/home- create /mnt/boot/EFI folder and mount the file system on the EFI partition to
/mnt/boot/EFI
mkdir /mnt/boot
mkdir /mnt/boot/EFI
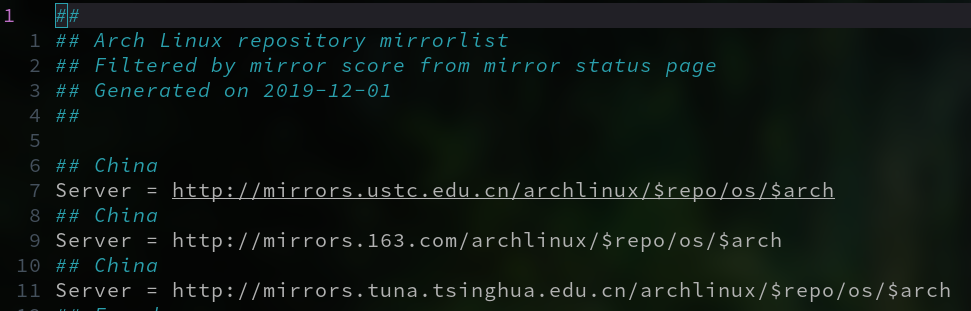
mount /dev/sda2 /mnt/boot/EFI7. Select the mirrors
vim /etc/pacman.d/mirrorlistPaste the China mirrors in the beginning
8. Install essential packages
pacstrap /mnt base linux linux-firmware9. Generate an fstab file
genfstab -U /mnt >> /mnt/etc/fstabCheck the resulting /mnt/etc/fstab file, and edit it in case of errors.
cat /mnt/etc/fstab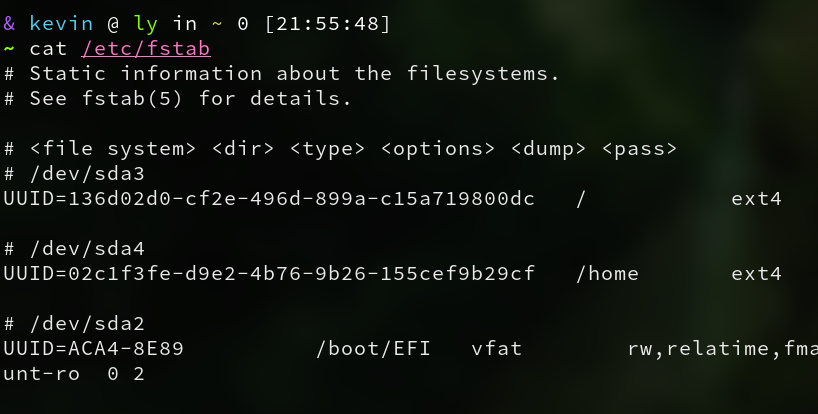
10. Change root into the new system
arch-chroot /mnt11. Time zone
ln -sf /usr/share/zoneinfo/Asia/Shanghai /etc.localtime
hwclock --systohc
12. Localozation(Language)
- Uncomment
en_US.UTF-8 UTF-8and others needed locals in/etc/locale.gen, and generate them with:
locale-gen- Create the
locale.conffile, and setLANGvariable accordingly:
vim /etc/locale.conf
LANG=en_US.UTF-8
13. Initramfs
mkinitcpio -P14. Root password
passwd root15. Network configuration
- Create the hostname file
vim /etc/hostnameEnter your hostname in this file.
- Add matching entries to hosts
vim /etc/hosts127.0.0.1 localhost
::1 localhost
127.0.0.1 yourhostname.localdomain yourhostname- Install some software to ensure you can connect the Internet after reboot system.
pacman -S iw wpa_supplicant dialog networkmanager16. Microcode
My computer is Intel processors.
pacman -S intel-ucode17. Boot loader
pacman -S grub efibootmgr
grub-install --target=x86_64-efi --efi-directory=/boot/EFI -bootloader-id=Archlinux
grub-mkconfig -o /boot/grub/grub.cfg
If you can see some img file generated, it means the grub boot loader file are successful creatted.
18. Reboot
exit
umount -R /mnt
reboot
Use uname -a to view the Version of Arch linux.

My config recommendations
1. Add users
useradd -s -G wheel -s /bin/bash usernameTo allow user to gain full root privileges when he precdeds a command with sudo , add the following line to /etc/sudoers .
USER_NAME ALL=(ALL) ALLsu username to switch users.
2. NetworkManager
NetworkManager(package networkmanager ) contains a daemon, a command line interface( nmcli ) and a curses-based interface( nmtui ). After installation, you should enable the daemon.
systemctl enable NetworkManager.service
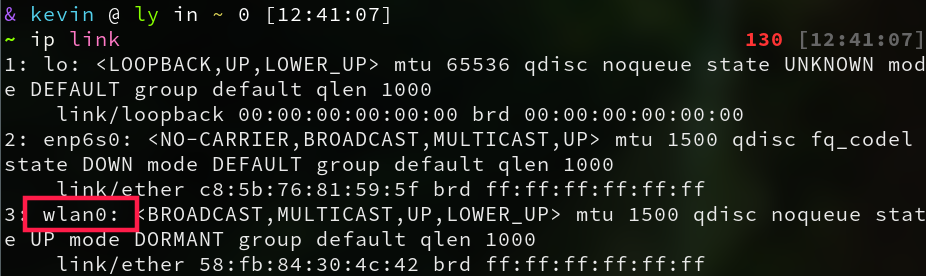
systemctl start NetworkManager.serviceUse ip link to view the network interface.
Usage
- List nearby wifi networks
nmcli device wifi list- Connect to a wifi network
nmcli device wifi connect SSID password password- Disconnect an interface
nmcli device disconnect ifname eth0- See a list of network devices and wheir state
nmcli device- Turn off wifi
nmcli radio wifi offnm-applet for a system tray applet
sudo pacman -S network-manager-applet- Add
exec --no-startup-id nm-appletto~/.config/i3/configfot autostartnm-applet.
3. Xorg display server
- Installation
sudo pacman -S xorg xorg-server xorg-appsDriver installation
- First, identify your card:
lspci | grep -e VGA -e 3D
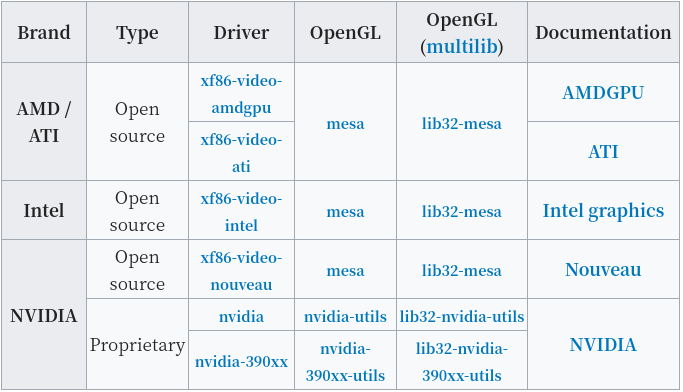
- Install an appropriate deiver
pacman -Ss xf86-videoNote : For NVIDIA Optimus enabled laptop which uses an integrated video card combined with a dedicated GPU, You can not just install
xf86-video-intel&nvidia, it will get a blcak screen. See NVIDIA Optimus to get more informations.I just install
xf86-video-vesa.pacman -S xf86-video-vesaUse xinit to start Xorg display server.
sudo pacman -S xorg-xinit- Create
.xinitrcfile(in common users)
sudo cp /etc/X11/xinit/xinitrc ~/.xinitrc- Tap-to-click
sudo vim /etc/X11/xorg.conf.d/30-touchpad.confAdd the following lines to it.
Section "InputClass"
  Identifier "touchpad"
  Driver "libinput"
  MatchIsTouchpad "on"
  Option "Tapping" "on"
EndSection- Install Windows Manager (i3)
sudo pacman -S i3It include i3-gaps , i3wm , i3blocks , i3lock , i3status
- Use i3
Add exec i3 to the end of ~.xinitrc .
- Start Xorg server.
startx- Autostart X at login
I’m a fish user, so i just need add the following to the bottom of my ~/.config/fish/config.fish .
# Start X at login
if status is-login
    if test -z "$DISPLAY" -a $XDG_VTNR = 1
        exec startx -- -keeptty
    end
end
Other shell user (like bash , zsh ), Please visit here
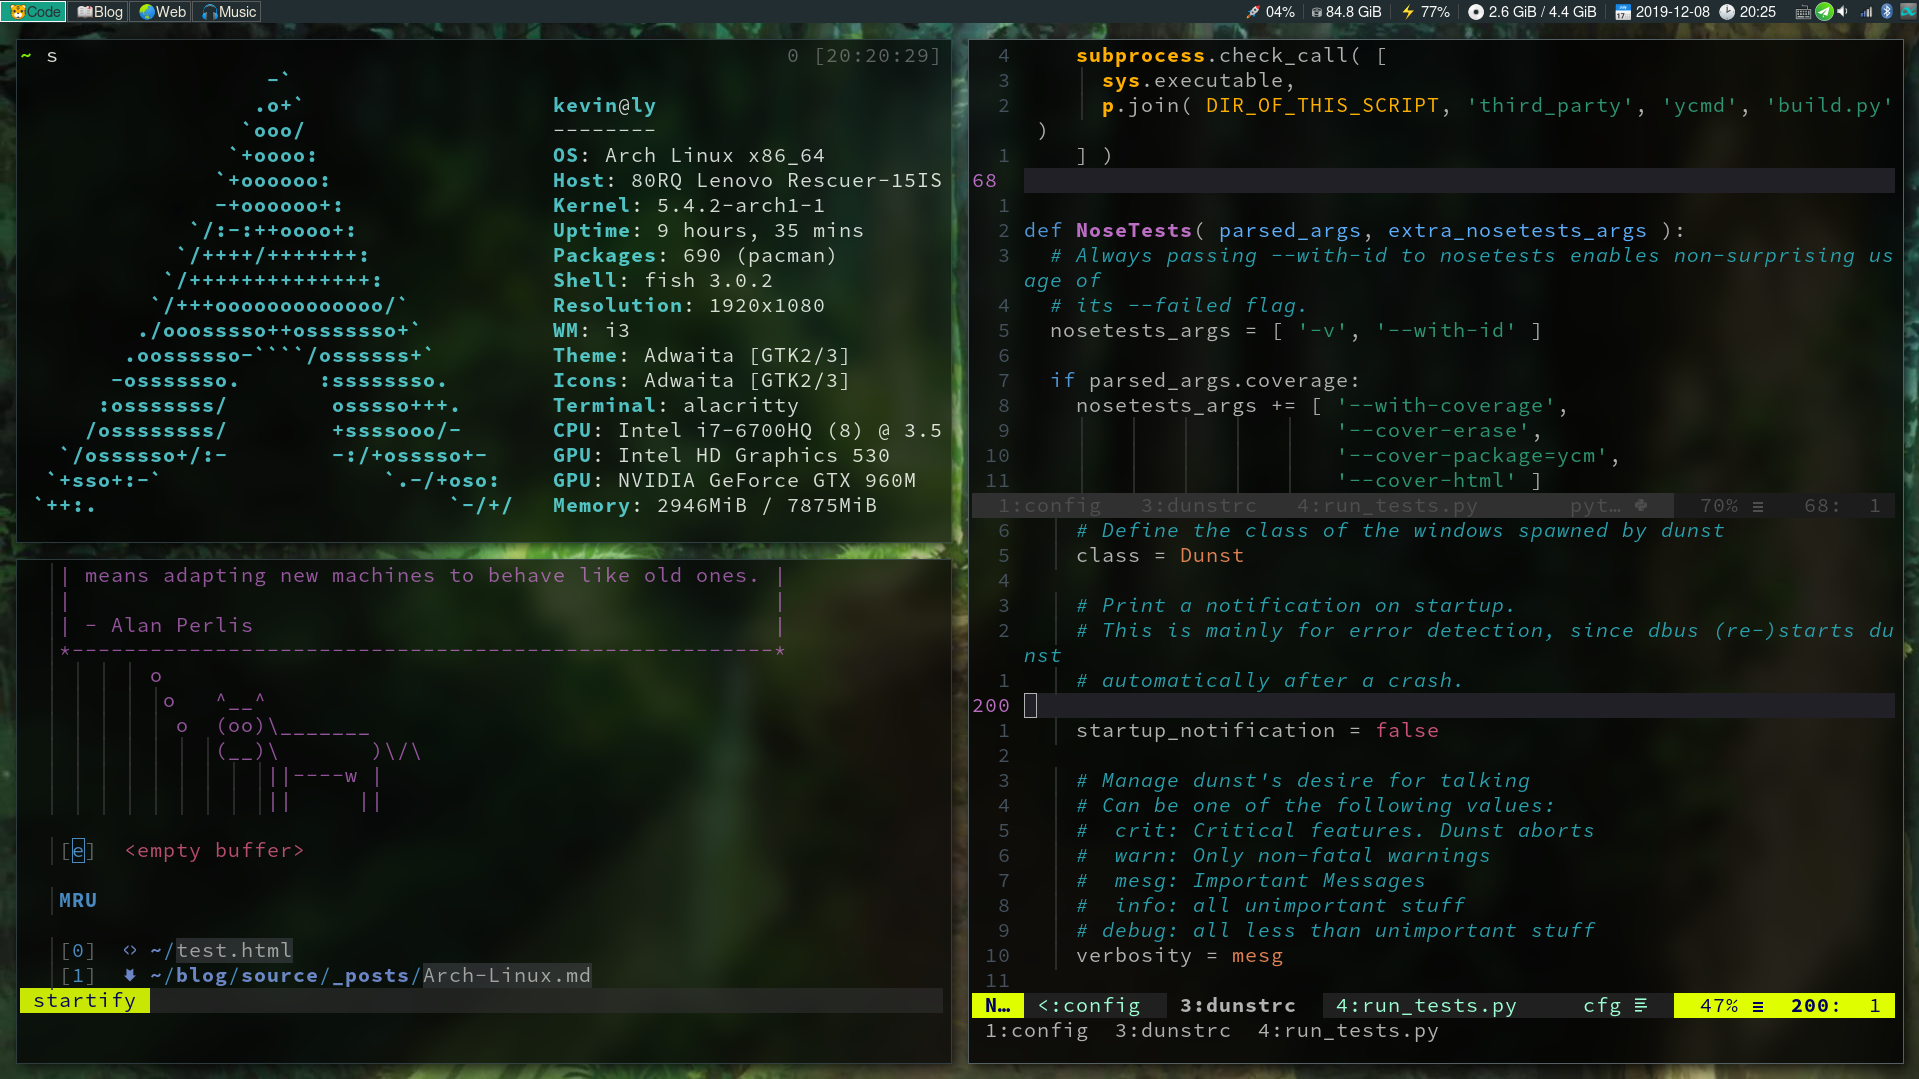
4. i3wm
5. Some useful software
- yaourt
Add the source to /etc/pacman.conf
[archlinuxcn]
#The Chinese Arch Linux communities packages.
SigLevel = Optional TrustAll
Server = http://mirrors.tuna.tsinghua.edu.cn/archlinuxcn/$arch
#Server   = http://repo.archlinuxcn.org/$arch
#Server   = http://repo.archlinux.fr/$arch
Synchronized communities
sudo pacman -SyuInsatll yaourt
sudo pacman -S yaourt6. Fonts
Fonts-ArchWiki , Nerd-fonts , Unicode-table
| adobe-source-code-pro | adobe-source-han-serif-cn-fonts | adobe-source-han-serif-tw-fonts |
|---|---|---|
| ttf-symbola | nerd-fonts-complete | nerd-fonts-dejavu-complete |
| font-awesome | noto-fonts-emoji |
fc-list to show the fonts you have installed.
7. Volume
ALSA is a set of built-in GNU/Linux modules. Therefore, manual insatllation is not necessary.
Install pulseaudio
sudo pacman -S pulseaudio- Install alsa-utils
sudo pacman -S alsa-utilsUse alsamixer to manage the system volume
- VoulmeIcon

If you want a System volume tray, you can try volumeicon
Install volumeicon
sudo pacman -S volumeiconAdd
volumeiconfile in~/.config/volumeicon, and add the following lines to it.[Alsa] card=default [Notification] show_notification=true notification_type=1 [StatusIcon] stepsize=5 onclick=xterm -e 'alsamixer' theme=White Gnome use_panel_specific_icons=true lmb_slider=true mmb_mute=true use_horizontal_slider=false show_sound_level=true use_transparent_bac<++>kground=true [Hotkeys] up_enabled=true down_enabled=true mute_enabled=true up=XF86AudioRaiseVolume down=XF86AudioLowerVolume mute=XF86AudioMuteCreate
pulseaudio-ctl.desktopin~/.config/autostart, and add the following lines to it.[Desktop Entry] Encoding=UTF-8 Type=Application Name=pulseaudio-ctl comment=Set Volume to 70% Exec=pulseaudio-ctl-normal StartupNotify=true Terminal=false Hidden=falseAdd
exec --no-startup-id volumeiconto~/.config/i3/config.I wrote two scripts to control the volume of the system with
alsamixeranddunst, put them to/usr/bin/.
8. Screen brightness
A good advice for backlight management is xorg-xbacklight , but it seems not work on my computer.
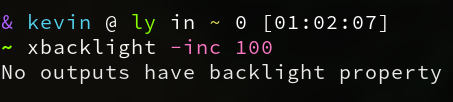
If you have the same problem, you can try the solution of Wiki, but it still can’t work on my computer. Sad! So i try another way to control the screen brightness.
The backlight can be controlled by the file /sys/class/backlight/intel_backlight/brightness ‘s value. So i wrote a script to control it. I named it intel_brightness_control.sh
#!/bin/bash
set -e
file="/sys/class/backlight/intel_backlight/brightness"
current=$(cat "$file")
new="$current"
if [ "$1" = "-inc" ]
then
  new=$(( current + $2 ))
  status="Up"
fi
if [ "$1" = "-dec" ]
then
  if [ current < 100 ]
  then
    new="50"
  else
    new=$(( current - $2 ))
  fi
  status="Down"
fi
echo "$new" | tee "$file"
brightness=`light -G`
notify-send "Brightness $status($brightness%)"
Remember put it in your /usr/bin/.
Then do sudo chmod 777 /sys/class/backlight/intel_backlight/brightness . The last thing is adding the following lines to .config/i3/config .
# Screen brightness controls
bindsym XF86MonBrightnessUp exec "intel_brightness_control.sh -inc 100"
bindsym XF86MonBrightnessDown exec "intel_brightness_control.sh -dec 100"
9. Bluetooth
- Install bluez , bluez-utils
sudo pacman -S bluez bluez-utils- The generic Bluetooth driver is the
btusbKernel module. Uselsmodto check whether that module is loaded.
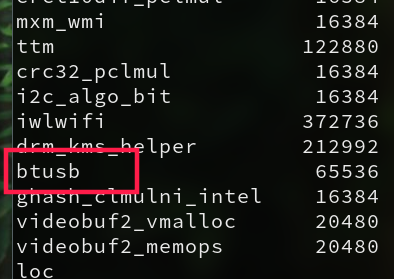
If it’s not, do modprobe btusb to load the moudle.
- Start / Enable
systemctl enable bluetooth.service
systemctl start bluetooth.service- Auto power-on after boot
Add the line AutoEnable=true in /etc/bluetooth/main.conf at the bottom in the [Policy] section.
- Discoverable on startup
/etc/bluetooth/main.conf

[General]
DiscoverableTimeout = 0
Discoverable=true- Install pulseaudio-bluetooth to use audio equipment like bluetooth headphones or speakers.
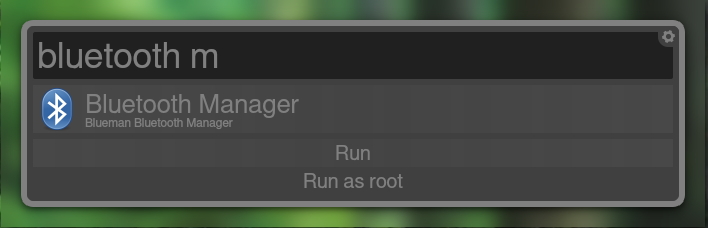
sudo pacman -S pulseaudio-bluetooth- Install blueman
sudo pacman -S bluemanblueman-appletto use.- add
exec --no-startup-id blueman-appletto~/.config/i3/configto auto startblueman-applet.
10. Notify(Dunst)
sudo pacman -S libnotify dunstCreate org.freedesktop.Notifications.service in /usr/share/dbus-1/services/ folder. Add the following lines.
[D-BUS Service]
Name.org.freedesktop.Notifications
Exec=/usr/local/bin/dunst
An example configuration file is included at /usr/local/share/dunst/dunstrc . Copy this file to ~/.config/dunst/dunstrc and edit it accordingly.
Use notify-send "Hello, world!" to test.

11. Shutdown Reboot LockScreen
- Create a script named
i3exit. Make sure you havepolkitinstalled.
#!/bin/sh
lock() {
    i3lock
}

case "$1" in
    lock)
        blurlock
        ;;
    logout)
        i3-msg exit
        ;;
    suspend)
        blurlock && systemctl suspend
        ;;
    hibernate)
        blurlock && systemctl hibernate
        ;;
    reboot)
        systemctl reboot
        ;;
    shutdown)
        systemctl poweroff
        ;;
    *)
        echo "Usage: $0 {lock|logout|suspend|hibernate|reboot|shutdown}"
        exit 2
esac

exit 0
Do chmod +x and put it in $PATH ( /usr/bin/ ) .
- Add the following lines to
.config/i3/config
set $mode_system System (l) lock, (e) logout, (s) suspend, (h) hibernate, (r) reboot, (Shift+s) shutdown
mode "$mode_system" {
    bindsym l exec --no-startup-id i3exit lock, mode "default"
    bindsym e exec --no-startup-id i3exit logout, mode "default"
    bindsym s exec --no-startup-id i3exit suspend, mode "default"
    bindsym h exec --no-startup-id i3exit hibernate, mode "default"
    bindsym r exec --no-startup-id i3exit reboot, mode "default"
    bindsym Shift+s exec --no-startup-id i3exit shutdown, mode "default"

    # back to normal: Enter or Escape
    bindsym Return mode "default"
    bindsym Escape mode "default"
}
bindsym $mod+Pause mode "$mode_system"